IT Services

Quick Start Guide for Managed Staff Cloud Devices

This summary of the quick start guide will help familiarise you with some of the features and changes of Windows & applications and working policies & processes that can assist with safe and productive working.

Before You Begin

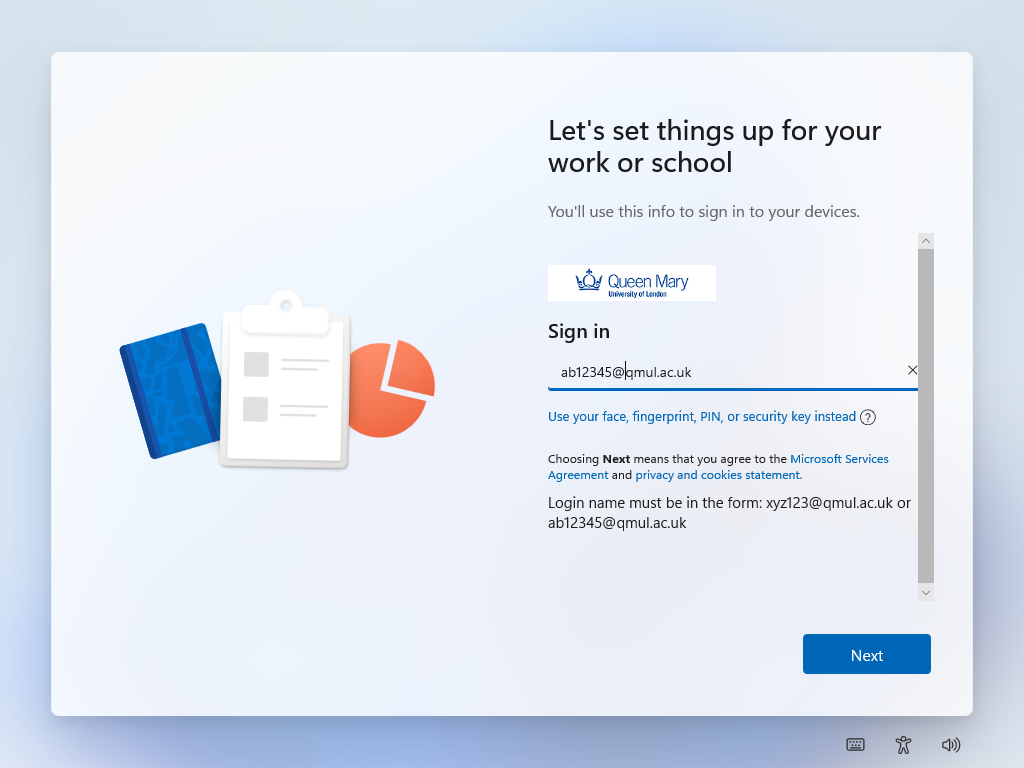
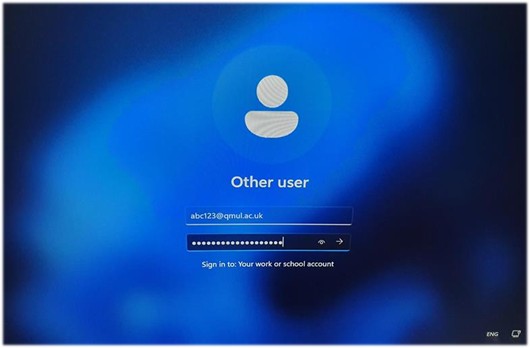
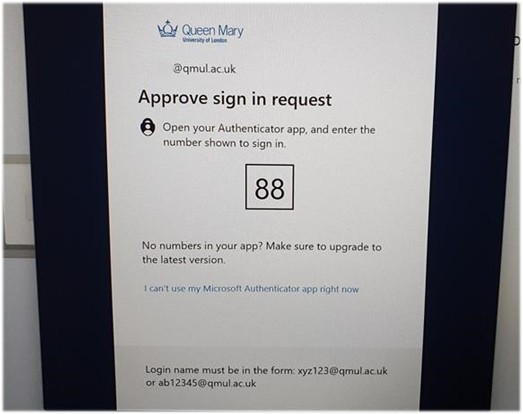
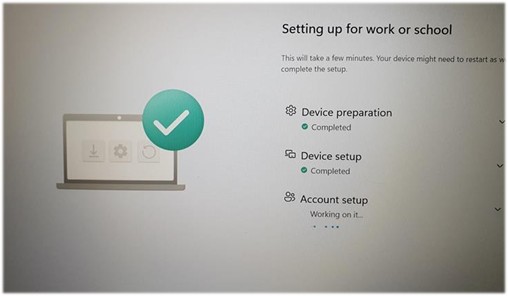
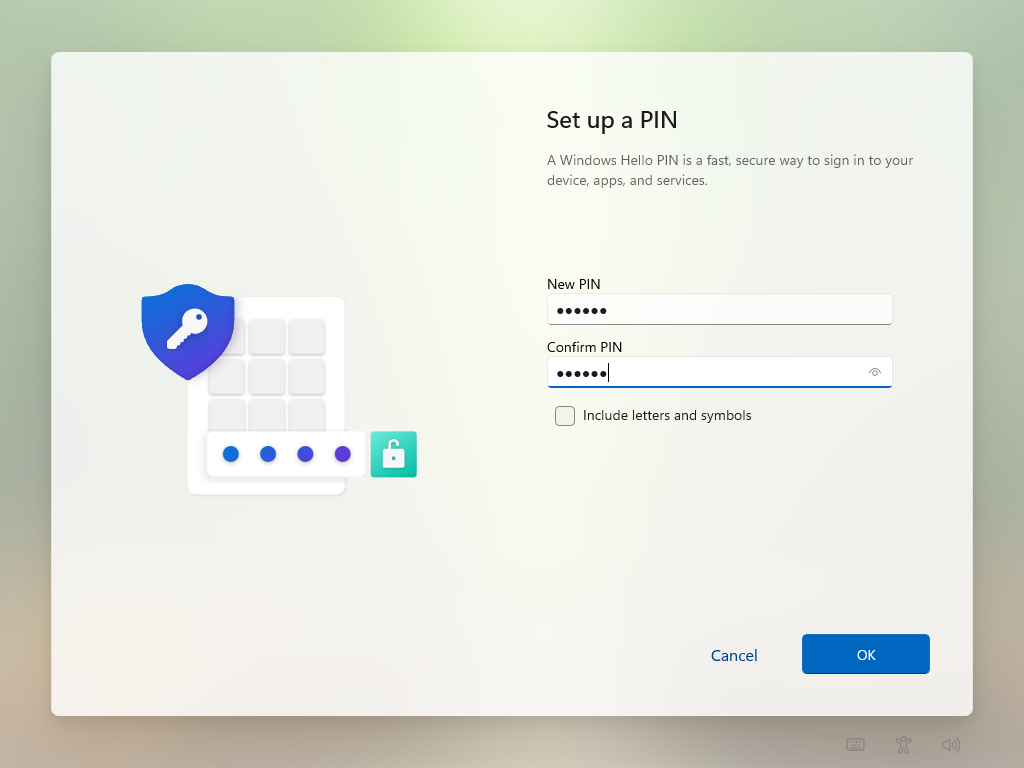
You should hopefully have your fresh and ready QMUL laptop with you. You should also try to keep it plugged into a power source through the initial set up period, particularly during updates. If you’re new to QMUL, your account should be confirmed as ready by IT Services via your manager. This means you have multi-factor authentication (MFA / 2FA) enabled and accessible on your phone or an alternative authenticator.

If your MFA is not yet configured, please consult the relevant ITS Self-help Page.

You should also make sure you’re still familiar with the latest iterations of the ITS Policies, particularly IS01 - Information Security & Acceptable Use Policy

Getting to the Desktop

Configure an alternative, switchable keyboard language or Skip.
If unconnected to the internet, you’ll be prompted for a WiFi network and password. You can also connect a dock or ethernet cable (if an ethernet port is present on the device) at this point, if more appropriate.
The device will now check for any updates required to continue the onboarding process.
You will be prompted for your QMUL account. Please enter your <username>@qmul.ac.uk, password and respond to the MFA request (e.g. Phone authenticator challenge).
The device will pull down any QMUL policies to configure the device. You can hit the drop downs for more information on the progress of the deployment.
Eventually, you’ll be placed on the desktop lock screen. Enter your username & password as normal, followed by satisfying an MFA request.

Deployment will then continue to progress…
You’ll now need to choose a 6-digit PIN. This is only used locally by your device and is vastly more convenient and secure than using your account password to log in.
Congratulations! You are past the initial set up.
Please note, we don’t automatically install many applications at the outset, so please check the following sections for help setting up your required applications.


Applications

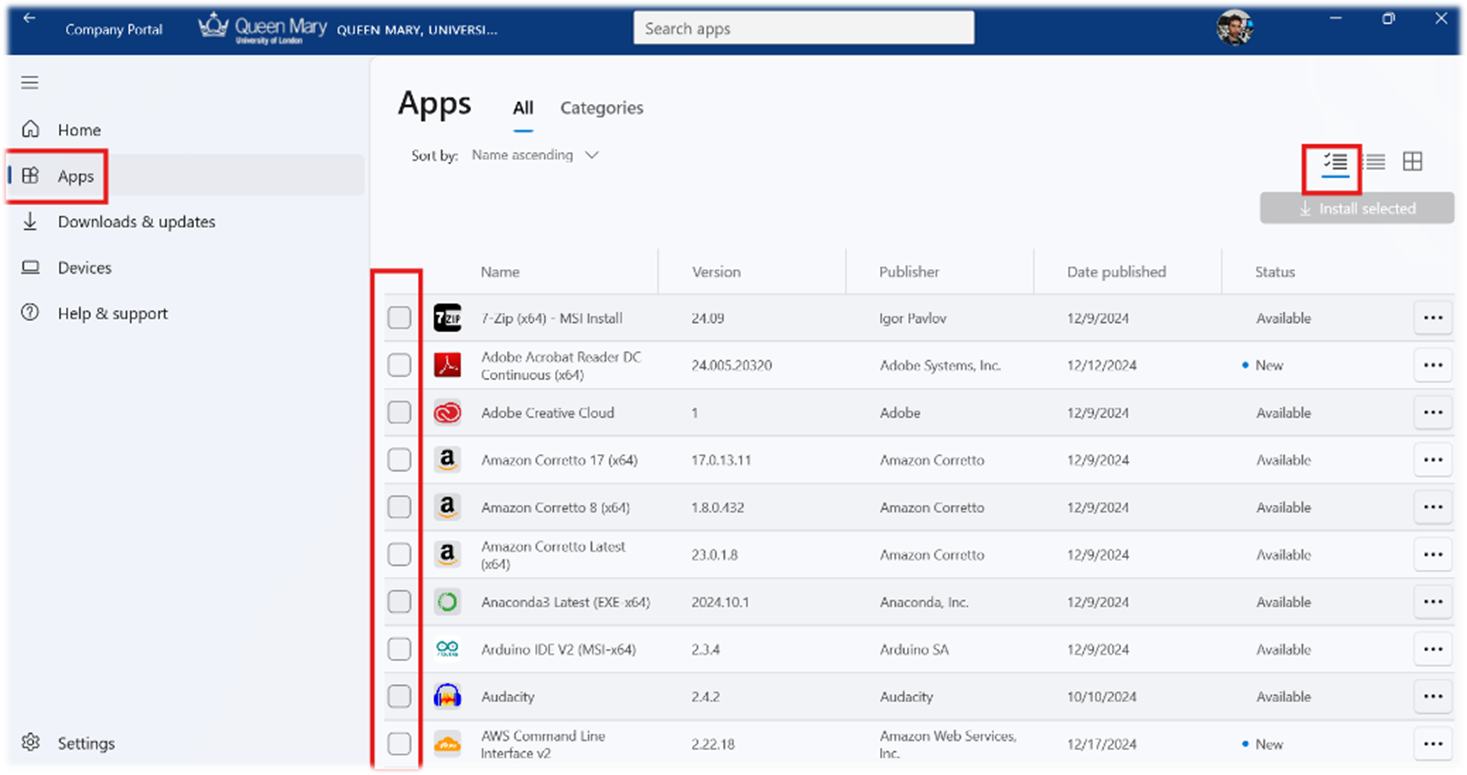
The portal for QMUL-managed applications is now Company Portal not Software Centre, as you might be used to previously: Click here for more details.

Search for and open Company Portal from the start menu.

Click the Apps menu and the list-checkbox view then tick all apps that you require.

IMPORTANT: APPS SUFFIXED WITH # REQUIRE YOU TO INSTALL AND CONNECT THE FORTICLIENT VPN. THIS IS TO ACTIVATE THE LICENCE.

Once all required apps have been selected, hit the Install selected button to trigger a chain of installs.

You can check the progress of the installs by clicking the Downloads & Updates page.
 

Requesting Help

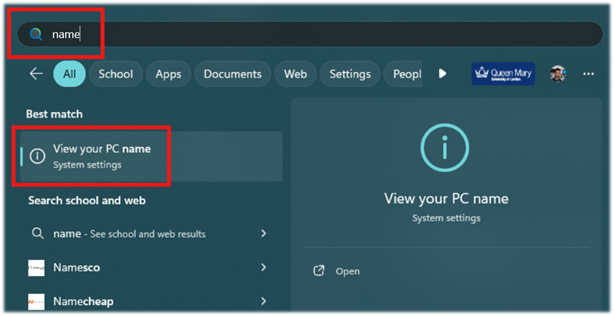
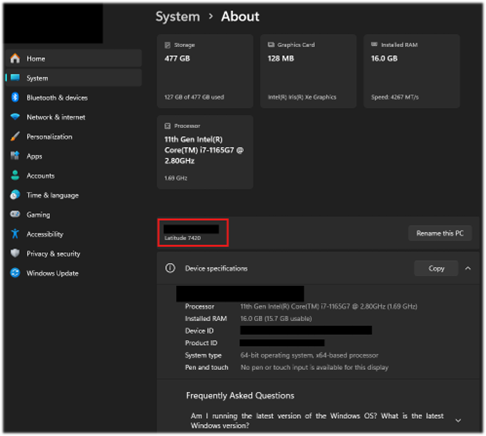
If you run into any problems, please don’t hesitate to raise a ticket with IT Support on ServiceNow. You’ll need to provide your computer name, which you can find by searching name in the start menu.


Back to top